
How to carve your ham or shoulder
If you're reading this, there's a piece waiting in your box: a whole Spanish ham or a shoulder. With a good knife, a little patience and these six steps, you'll enjoy it the way it deserves.
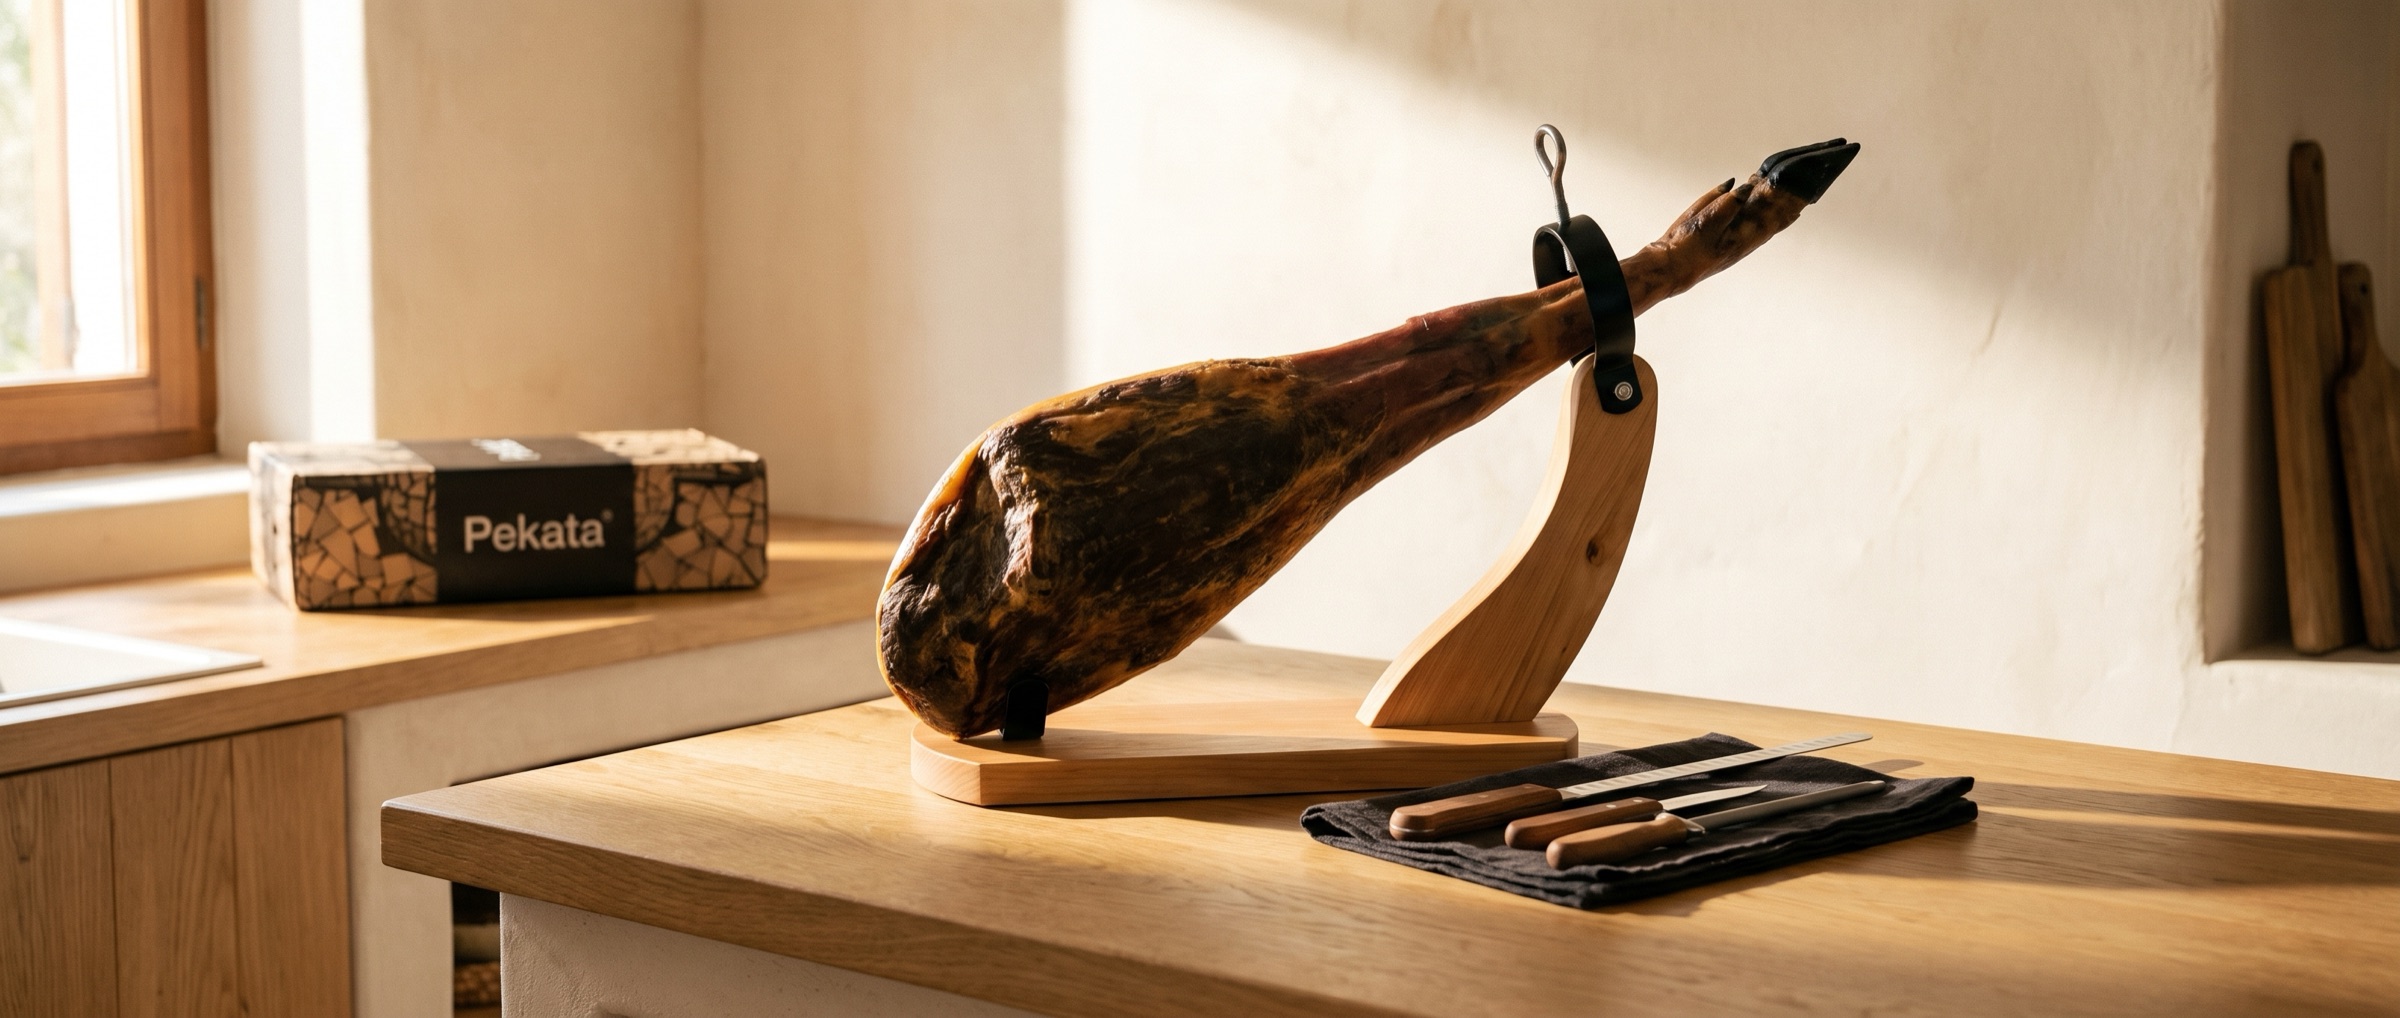
Before you start: how your piece arrives
Vacuum-packed: open it 2–3 days ahead
Most of our hams and shoulders travel vacuum-packed, because that's how the piece keeps best (they all come with their mesh, and some top-quality pieces are also wrapped in paper). Vacuum packing is perfect for the journey, but before carving the piece needs to breathe: remove the plastic 2 or 3 days before you start, leave it in its mesh and keep it somewhere cool and dry. It will recover all its aroma and texture.
A little mould? That's normal
Don't worry if some mould shows on the rind: it's a natural part of the curing process — in fact, it's what matures the piece in the cellar. It's cleaned off before packing, but it can sometimes reappear, and it's no problem at all. Wipe it off with a cloth or kitchen paper and a few drops of sunflower oil, and the piece is perfect.
Ham or shoulder? They're carved the same way
The technique is the same for both pieces. The shoulder is smaller than the ham, has a higher proportion of bone and the meat sits closer to it, so the slices come out a bit smaller and you'll use the paring knife more. In return, its flavour tends to be more intense. Once started, it's best eaten sooner.
Before you start, have at hand
- Ham stand: a firm holder that grips the leg tightly.
- Carving knife: a long, narrow, flexible blade.
- Paring knife: a short knife to clean the leg and score around the bones.
- Cotton cloth: to cover the piece between carving sessions.
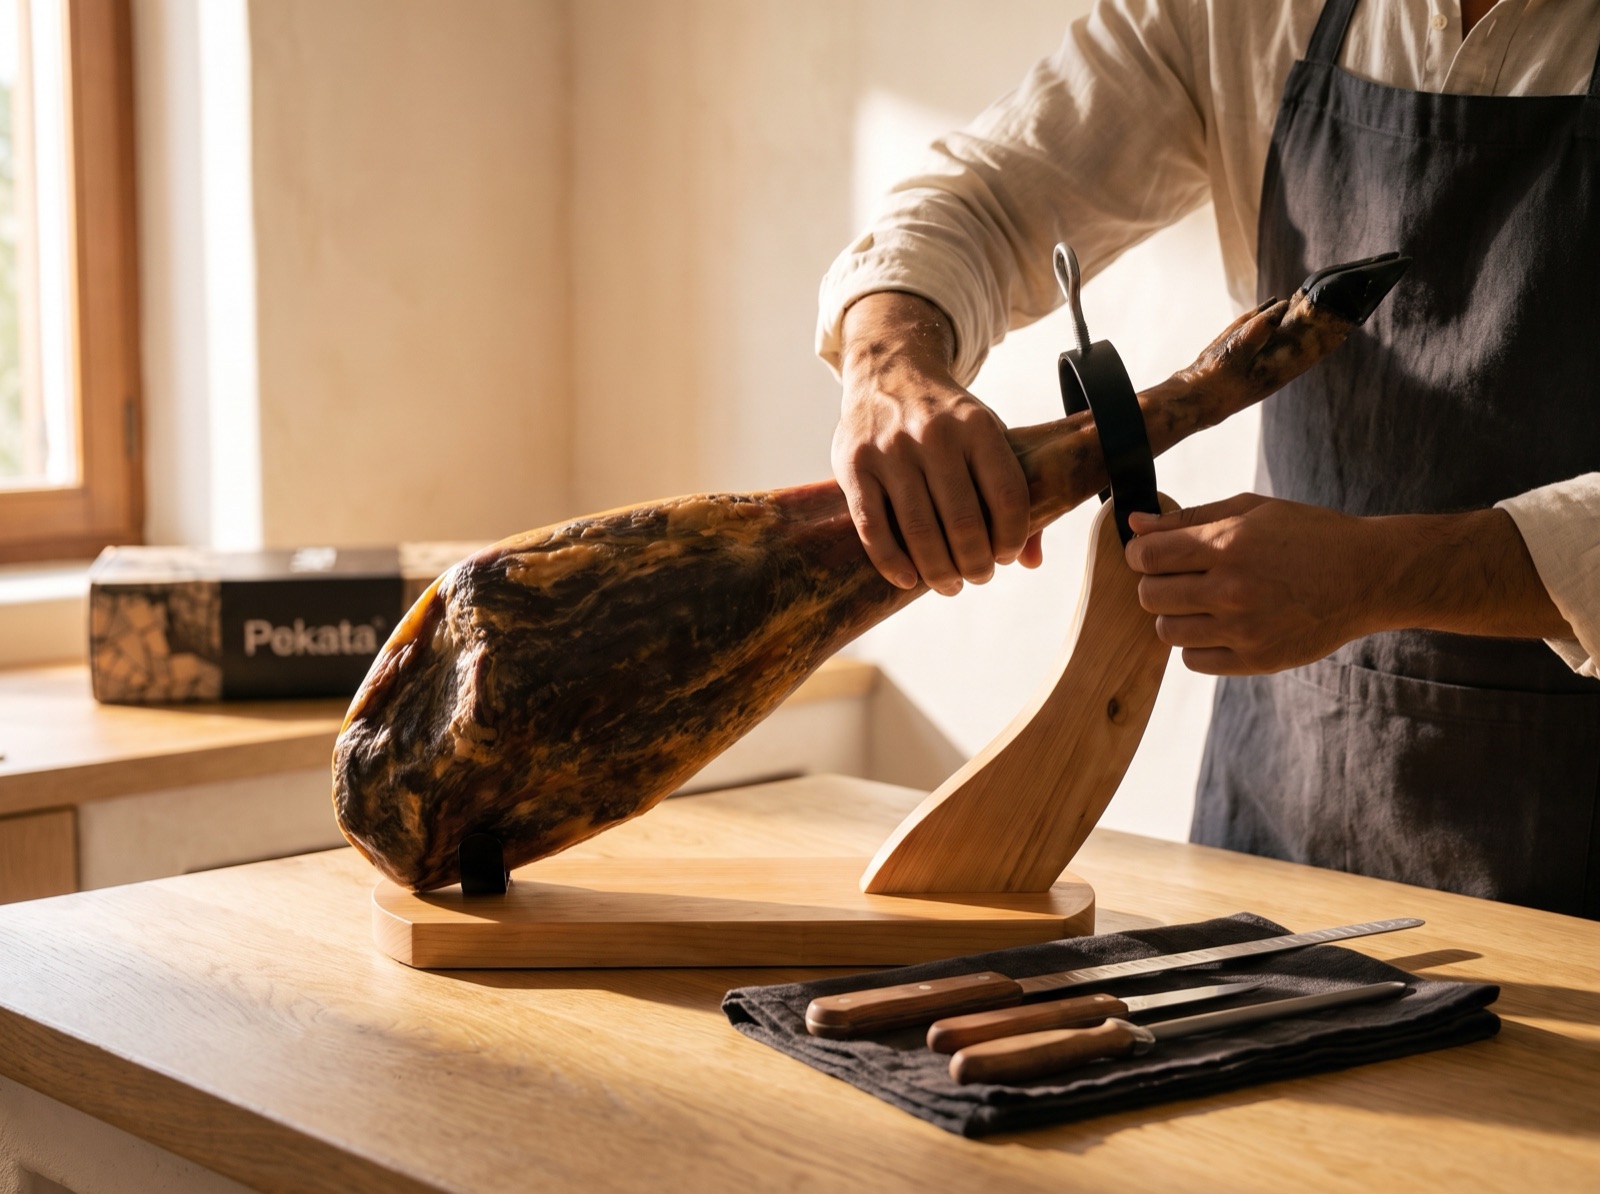
Fix it firmly on the stand
Fit the shank into the stand's clamp and tighten the screw until the leg doesn't move at all. To start with the maza — the widest, juiciest side — point the hoof upwards. If the piece is going to last more than two or three weeks, start the other way round, with the contramaza, so the finest part doesn't dry out.
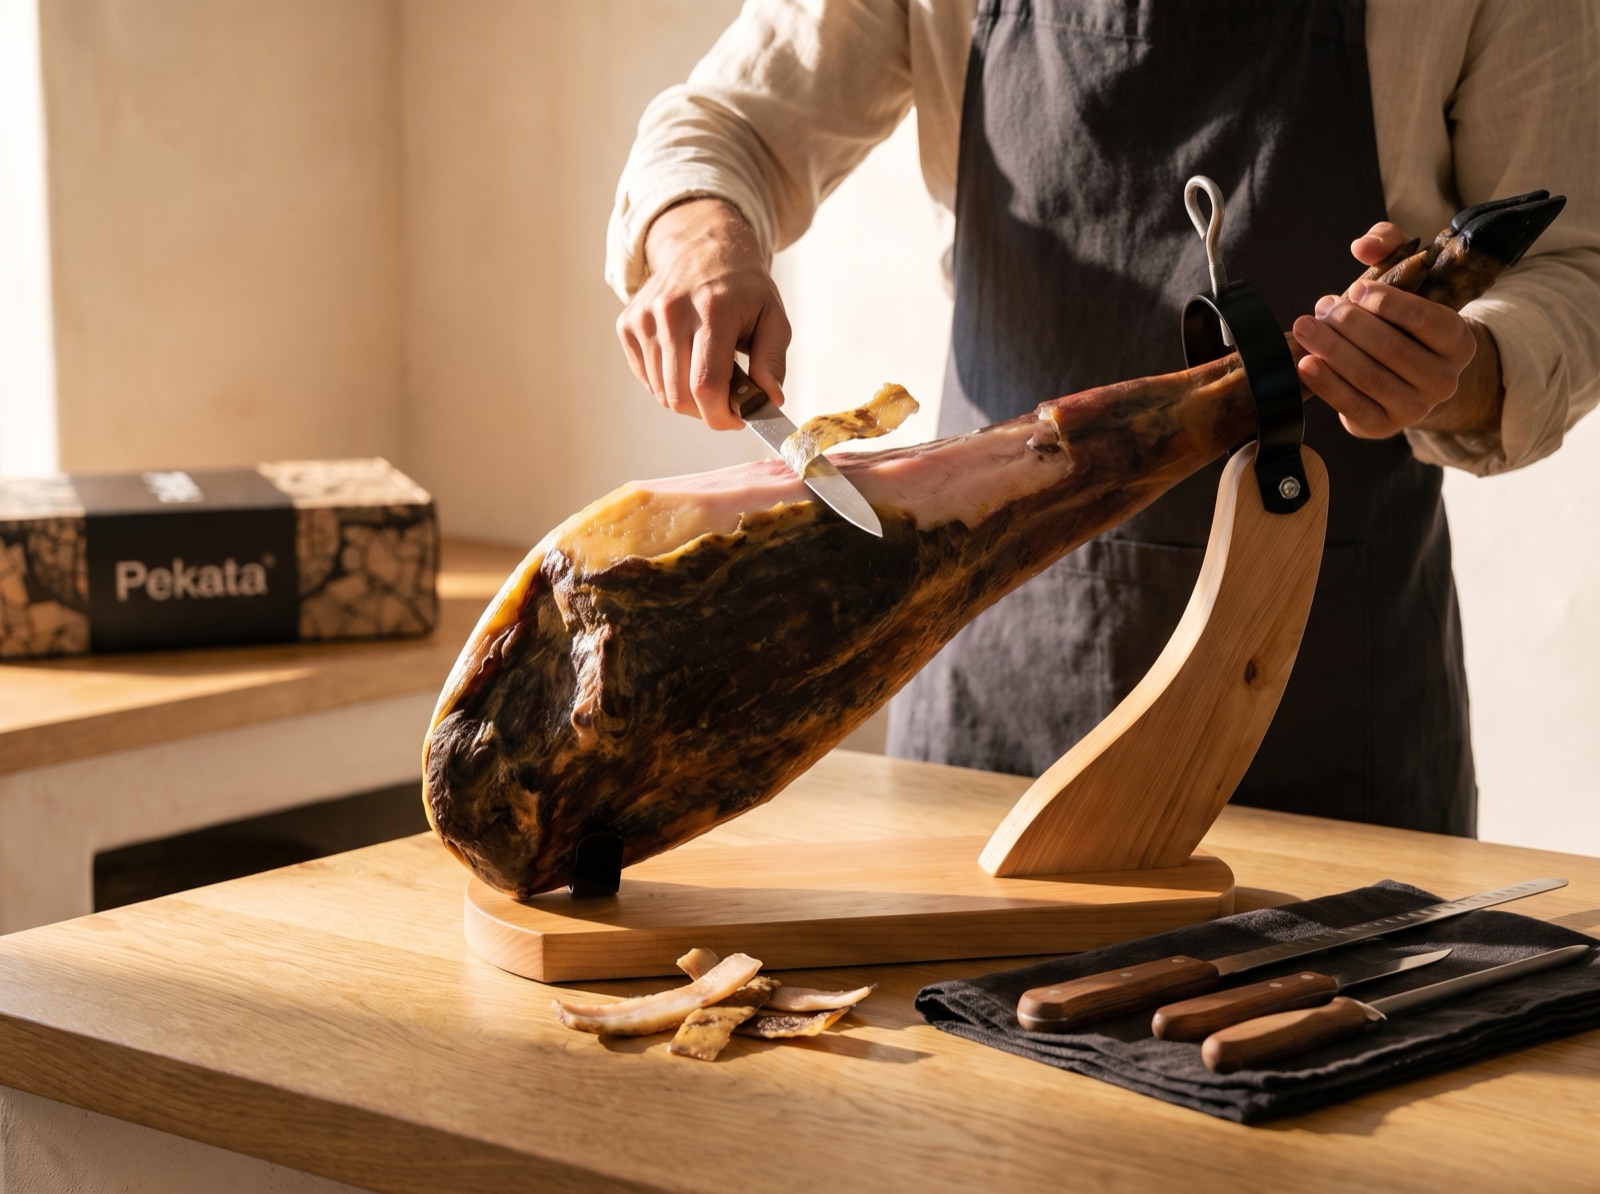
Clean only where you'll carve
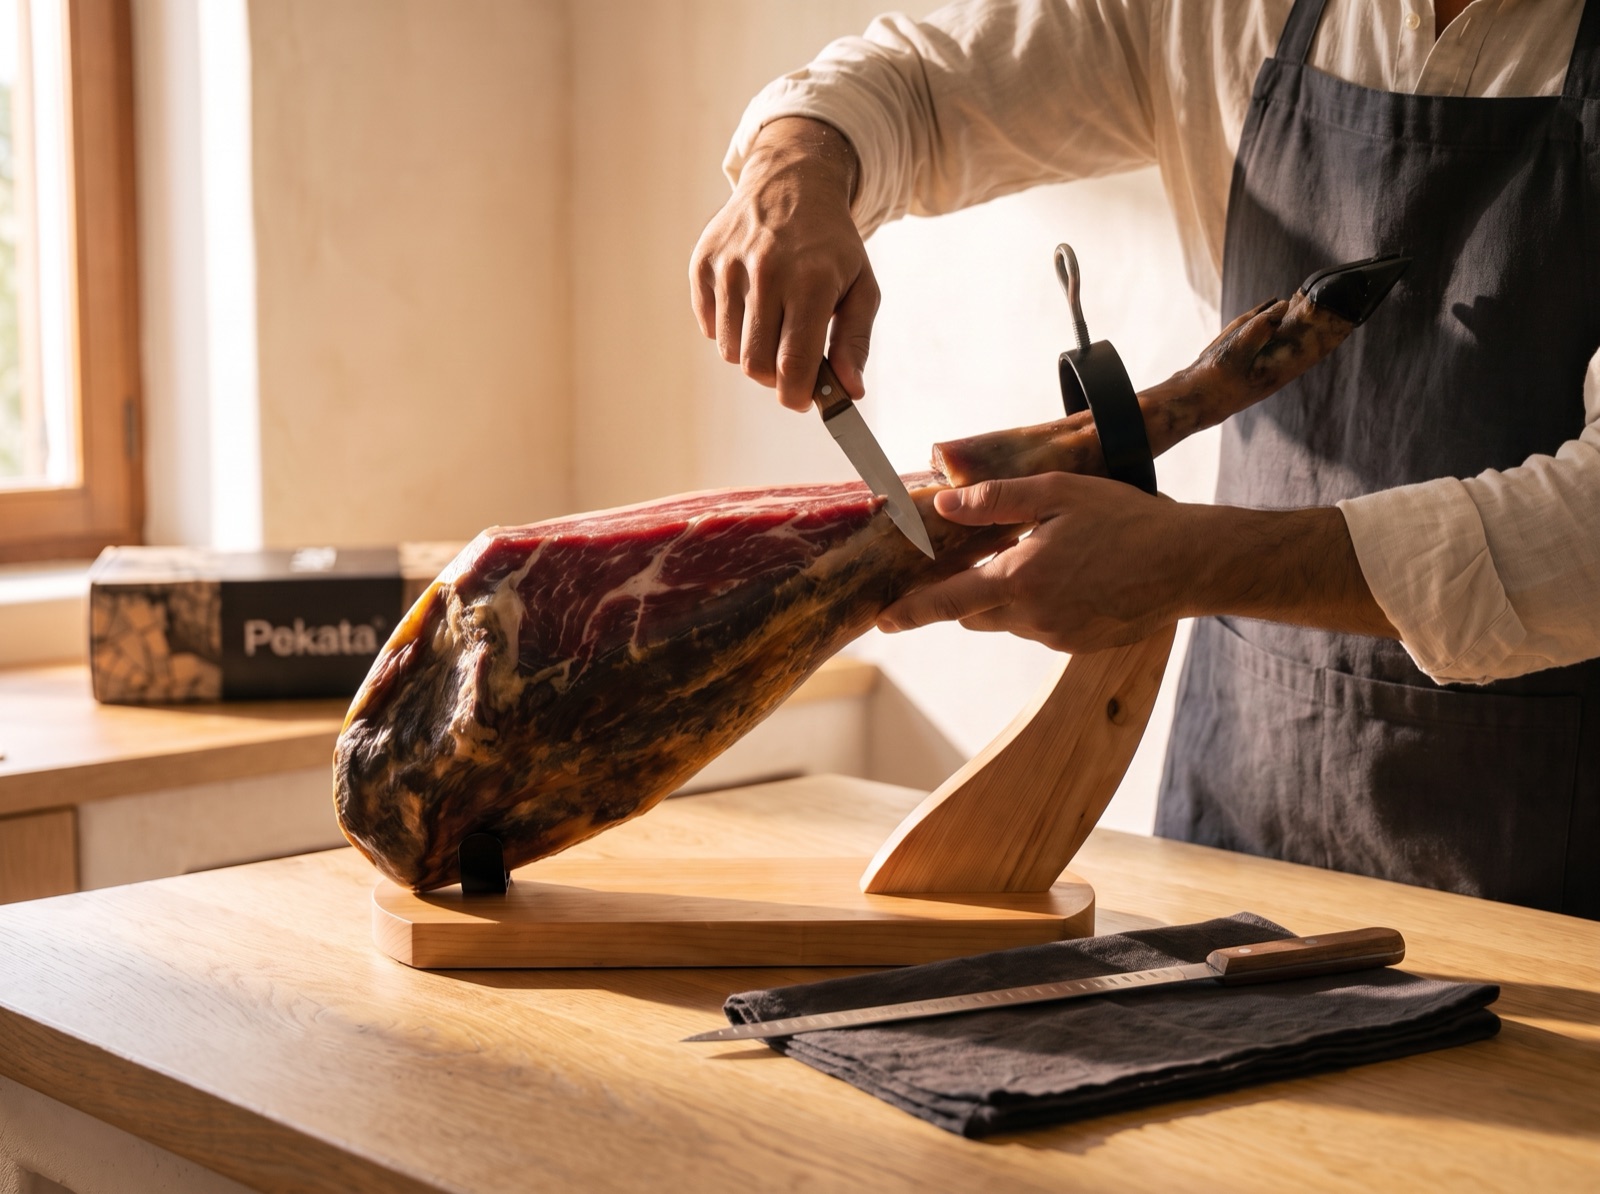
Using the paring knife, remove the rind and the yellow fat until the white and pink fat shows. Do it only on the side you're carving today: the rest of the rind protects the leg. Save a few clean strips of fat — you'll use them at the end.
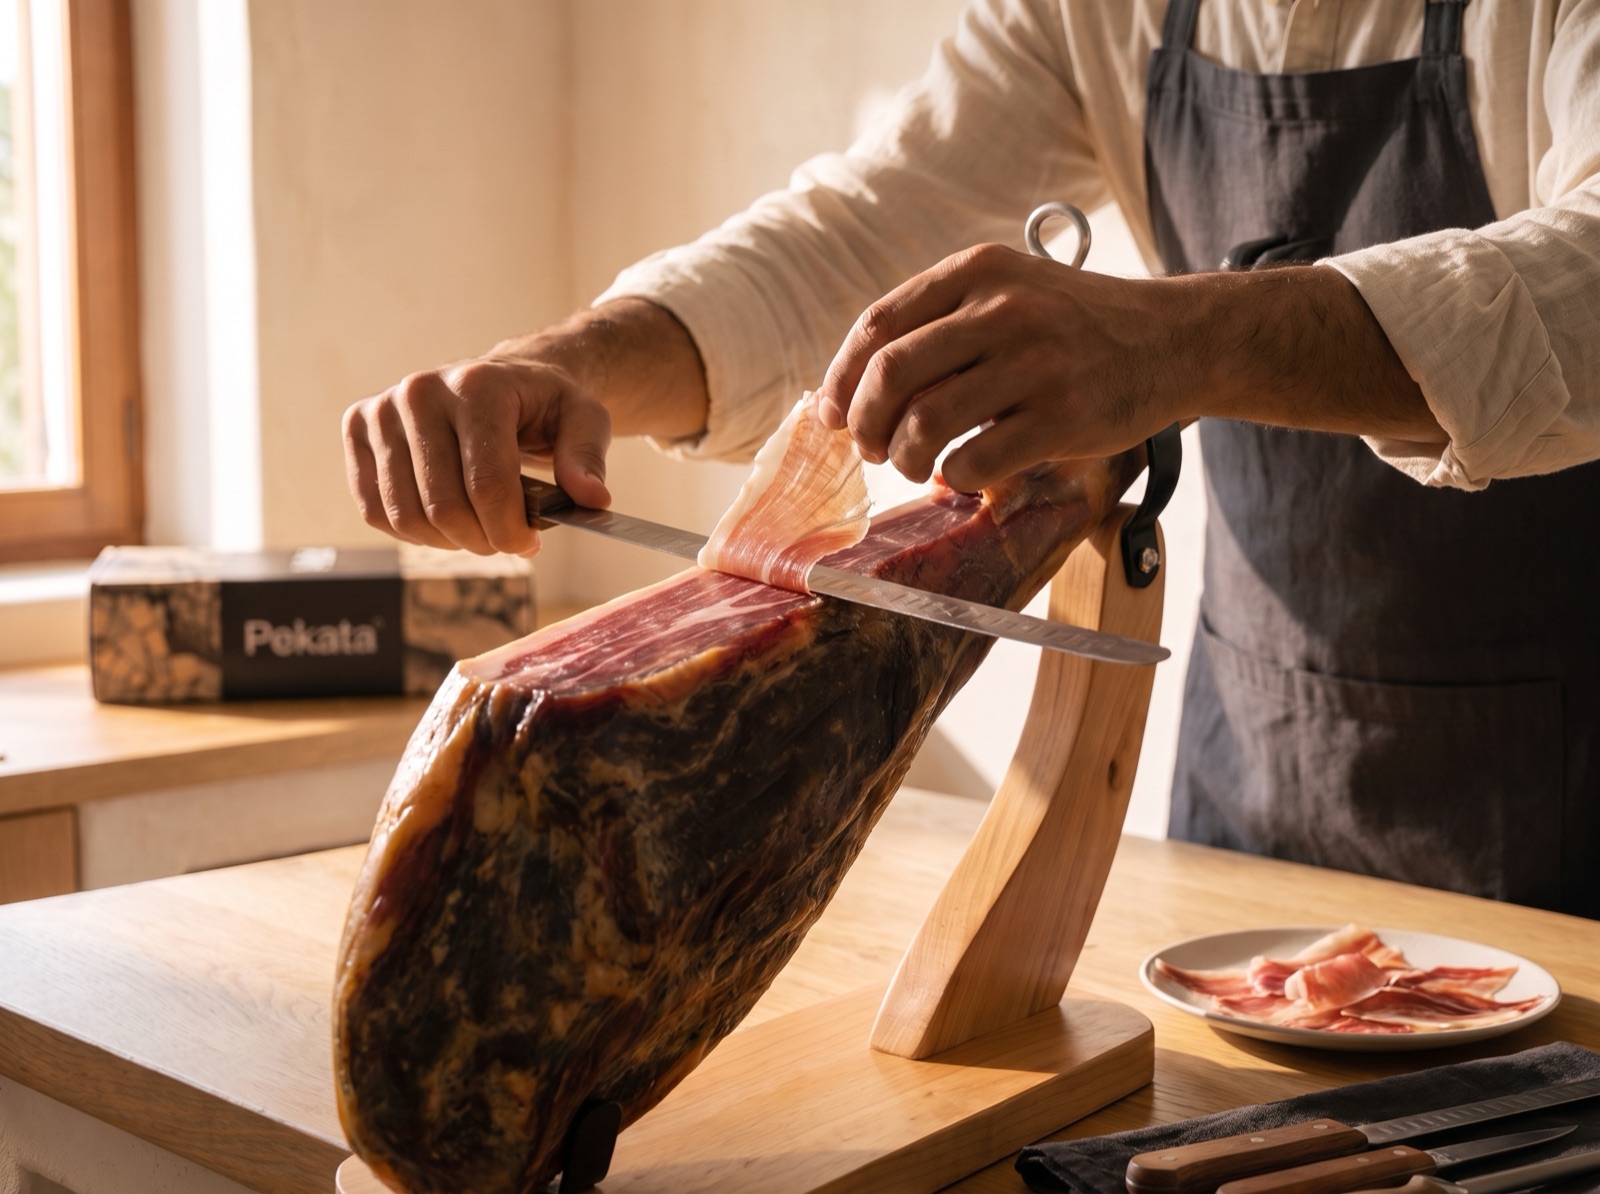
Thin, almost translucent slices
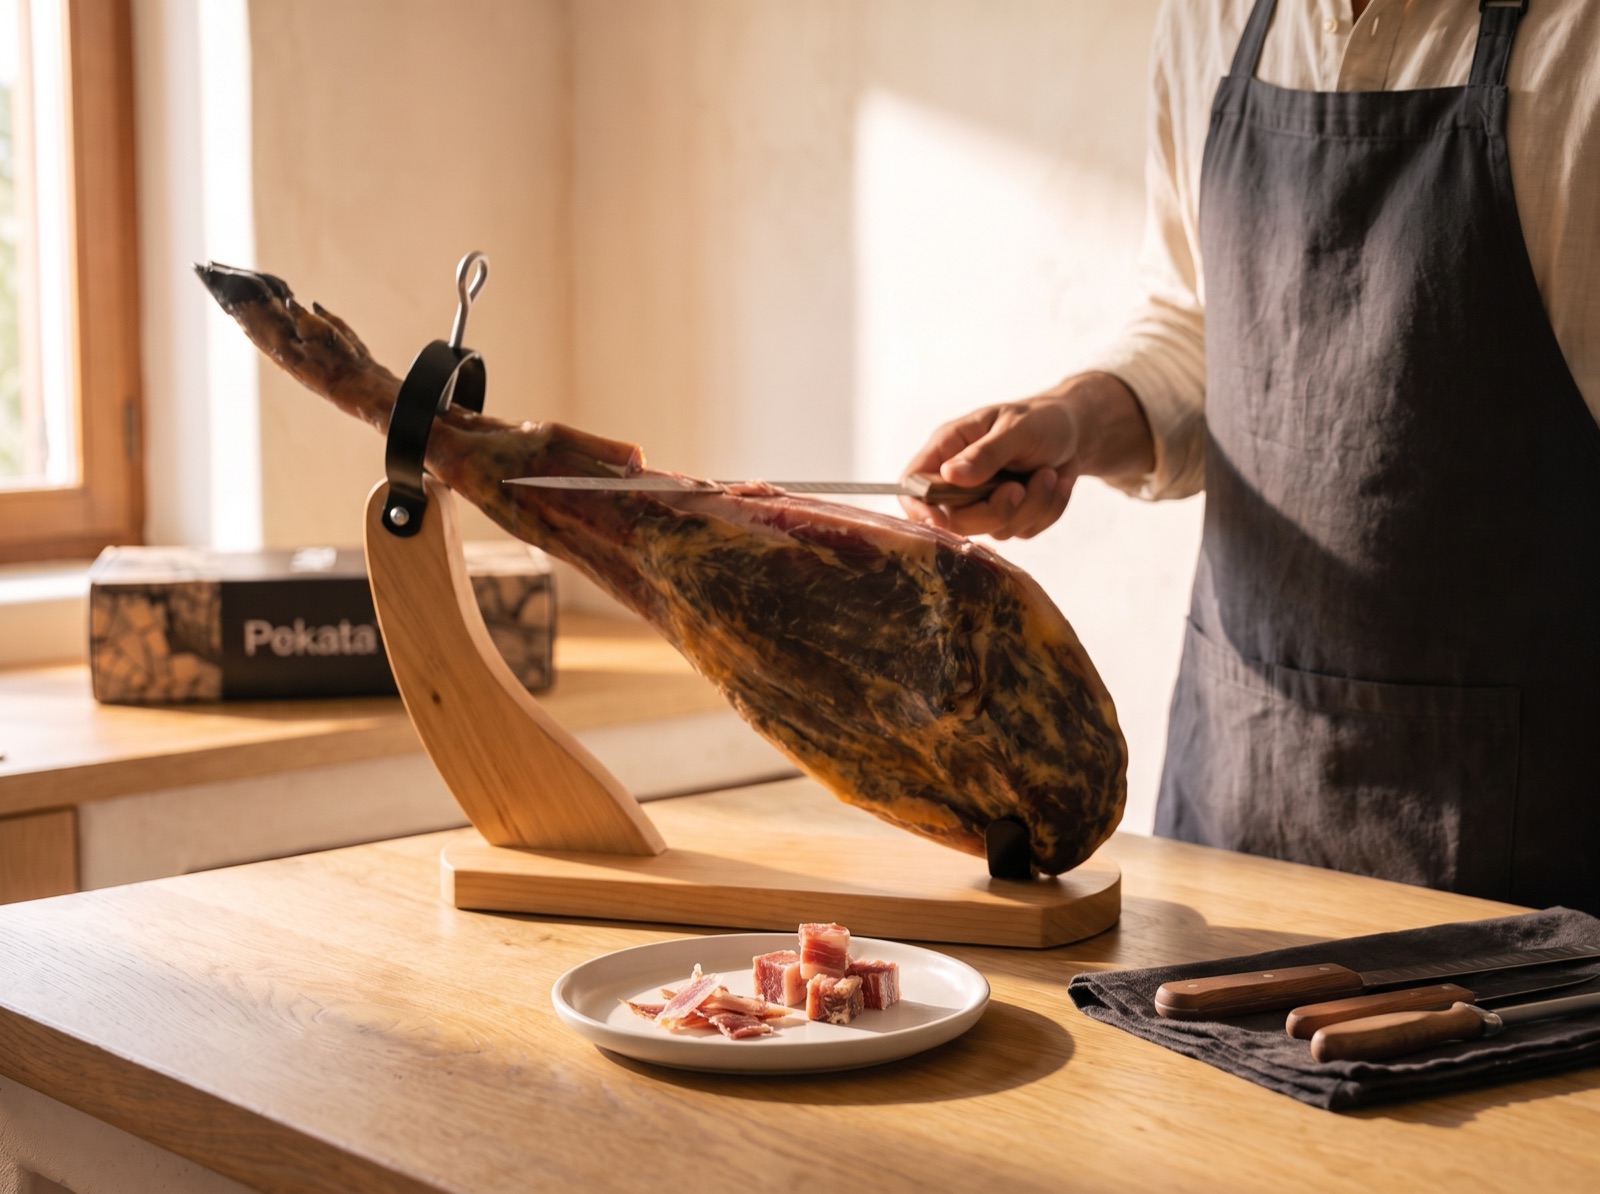
With the carving knife, cut thin, bite-sized slices: long, gentle strokes with the blade almost flat against the leg. The hand holding the piece always stays behind the knife, never in front of the blade.
Score around the bone
When the cut reaches the bone — the hip bone on a ham, the shoulder blade on a shoulder — score a contour around it with the tip of the paring knife. That way the slices come off cleanly instead of tearing at the bone.
Flip it over and use everything
Once the maza is done, turn the leg over and continue with the contramaza and the babilla — slightly more cured, with a more intense flavour. Cut the parts close to the bone into small cubes: perfect for snacking or for flavouring a stock.
Keep it well covered
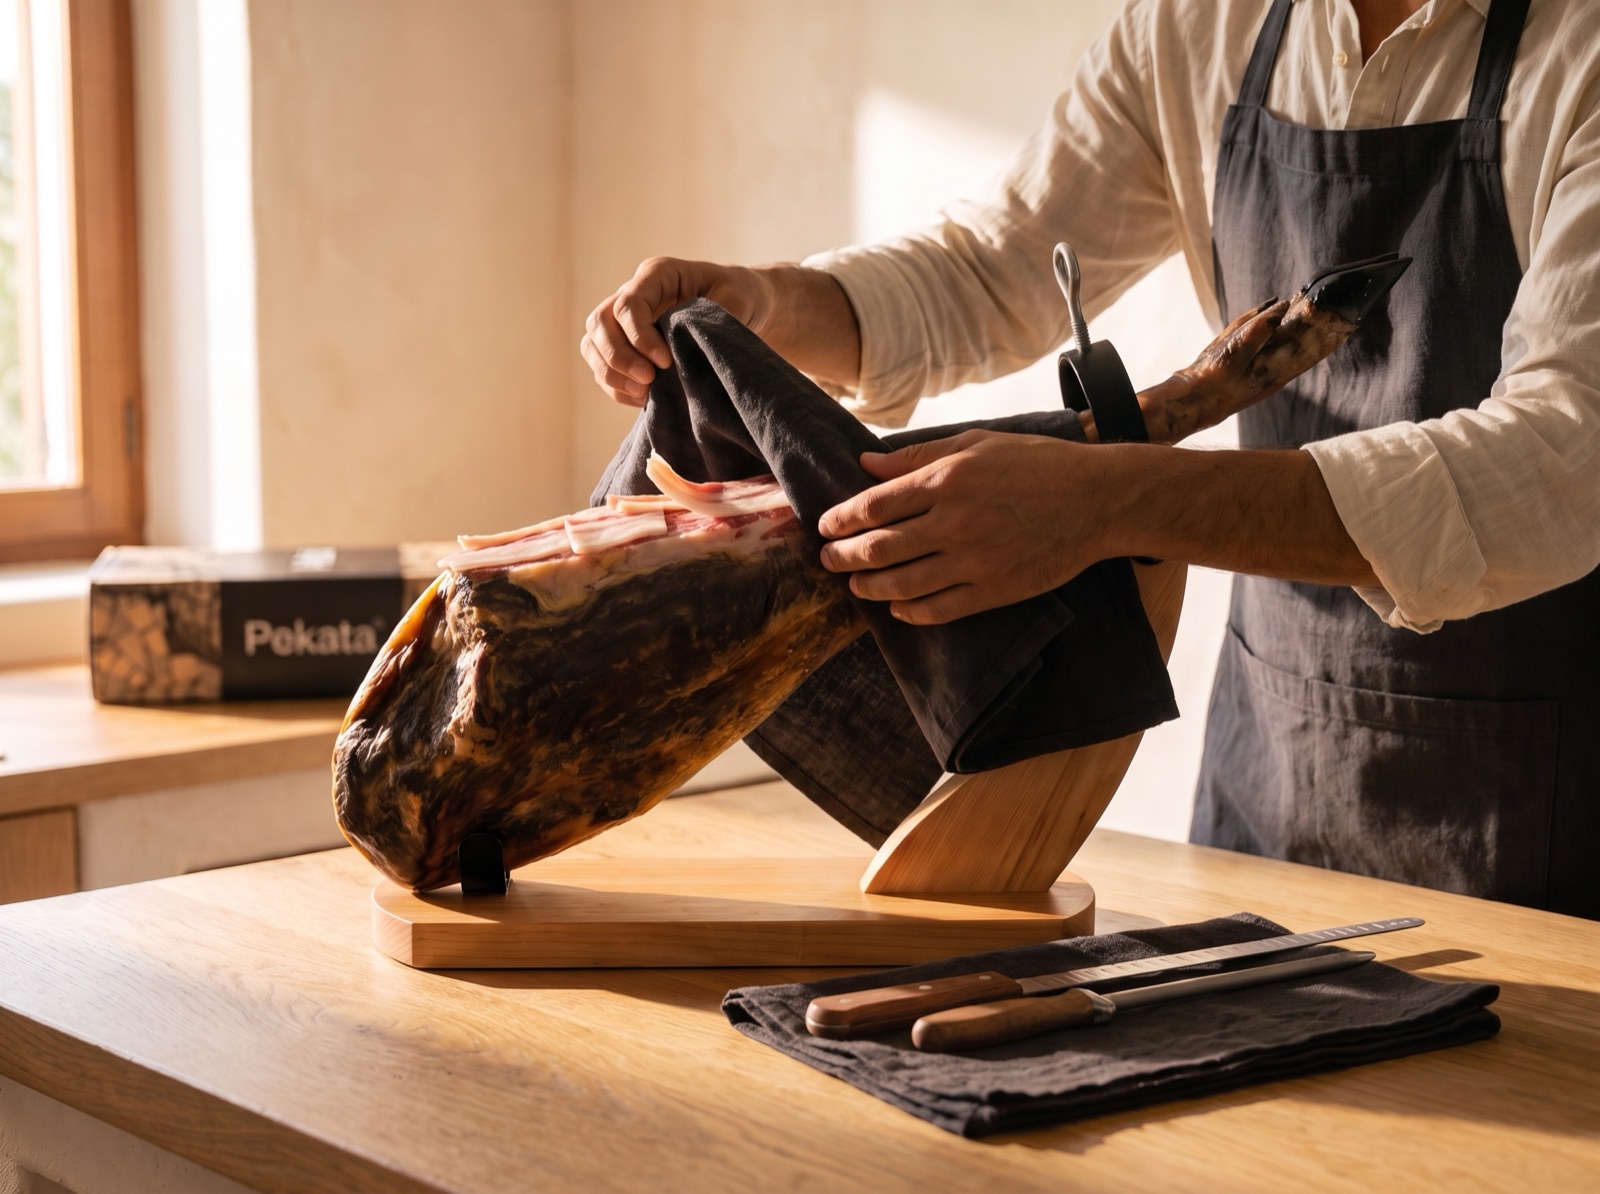
Cover the cut surface with the strips of its own fat and a clean cotton cloth. Keep the piece somewhere cool and dry, away from the sun. Never in the fridge, never wrapped in plastic.
One last tip
Always serve the slices at room temperature, never straight from somewhere cold. When the fat glistens, the piece is ready: that shine is the sign the moment has come.
Enjoy
This piece arrived in a Pekata box: the corporate gift every person picks for themselves.